Personal account verification (KYC) in Kanga

Written by
Ewelina Skorupka
Published on
If you want to take the full advantage of the Kanga cryptocurrency exchange features, it is necessary to have the account verified and identity confirmed in compliance with the Know Your Customer (KYC) procedure.
In this article we will show you step by step how to verify your account using two methods and we will clarify why it is well worth confirming your identity when trading with Kanga.
Why is KYC check crucial for your account?
Despite the fact that Kanga platform is available to all users with no additional verification, you will run into certain limitations if you do not complete the KYC process.
Verified users, for instance, can:
- Make daily withdrawals for amounts over 2 BTC or 30 ETH.
- Exchange FIAT for stablecoins through bank transfers with no limits.
- Exchange the balance for stablecoins such as PLN°, EUR°, USD° through Kanga partner – GoCash gate.
- Trade tokens that require KYC verification set by the issuer.
The regulations of cryptocurrency market change dynamically and European exchange market is required to verify clients’ identity. Owning an account that has been validated will ensure that no regulatory changes surprise you and you will be able to trade without interruptions.
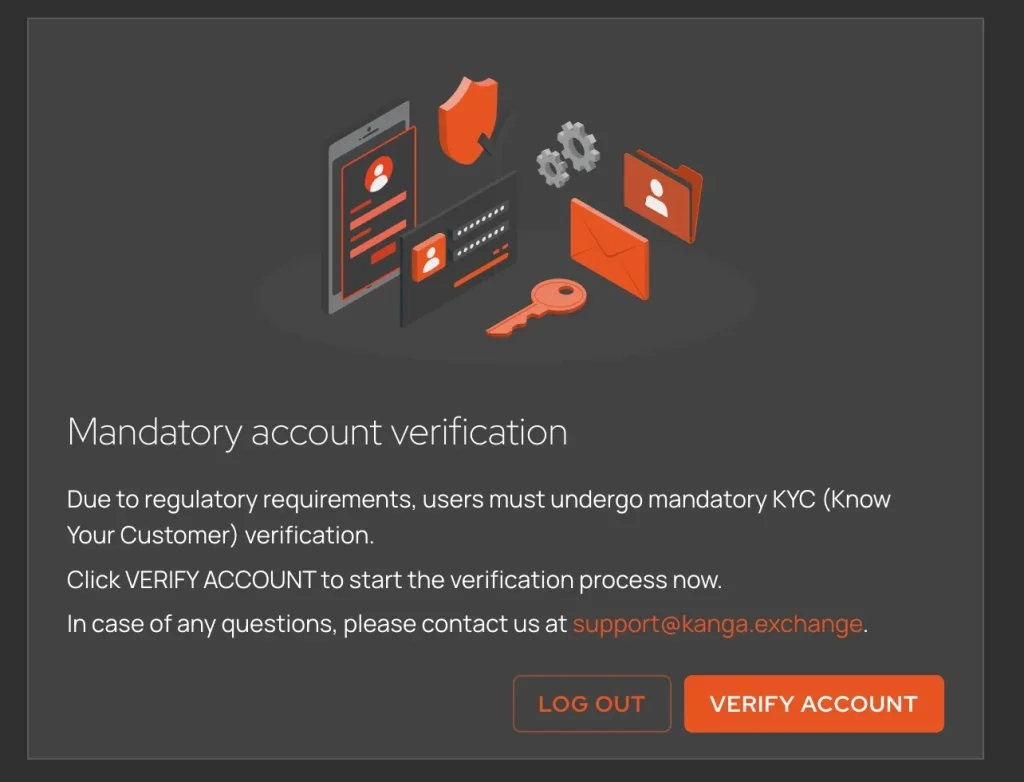
Now, according to the latest regulations, in the European Economic Area, KYC verification is mandatory.
KYC In Kanga – two available methods
If you want to verify your account on Kanga Exchange, you can choose between two methods. We will introduce both in the guide below.
Log into trade.kanga.exchange panel to begin the verification process. If you do not yet have an account, navigate to the step by step guide to set it up.
Go to “My account” in the top right corner:
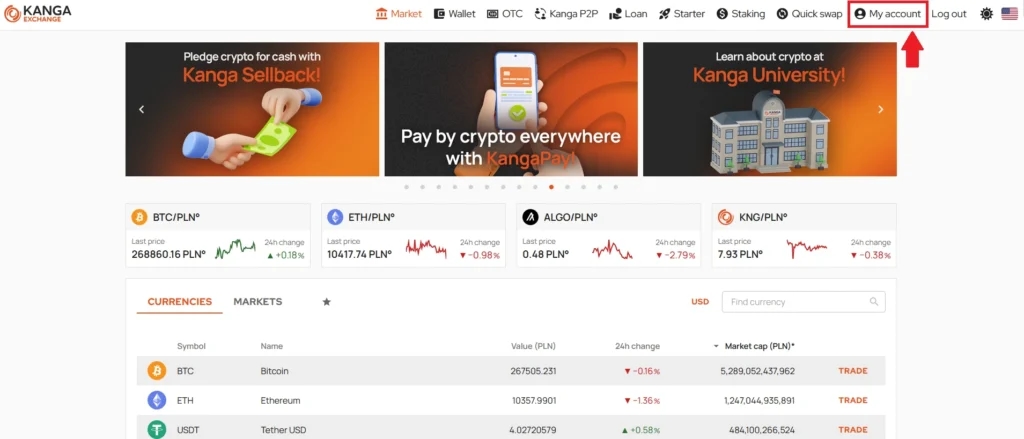
Click the button in the top right corner
Next, go to the “Verification” tab:
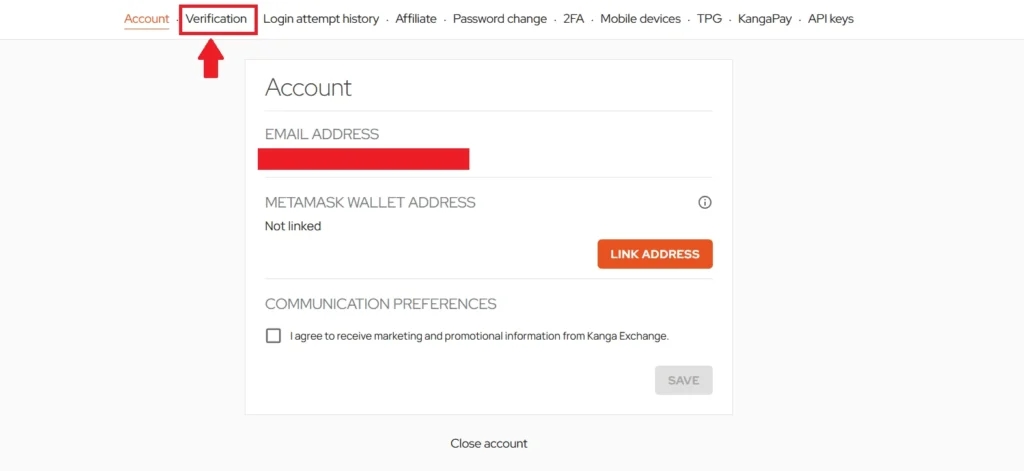
”Verification” button is situated in the top panel
You will be now requested to choose verification option: for personal account or for business account. For retail customers, pick KYC:
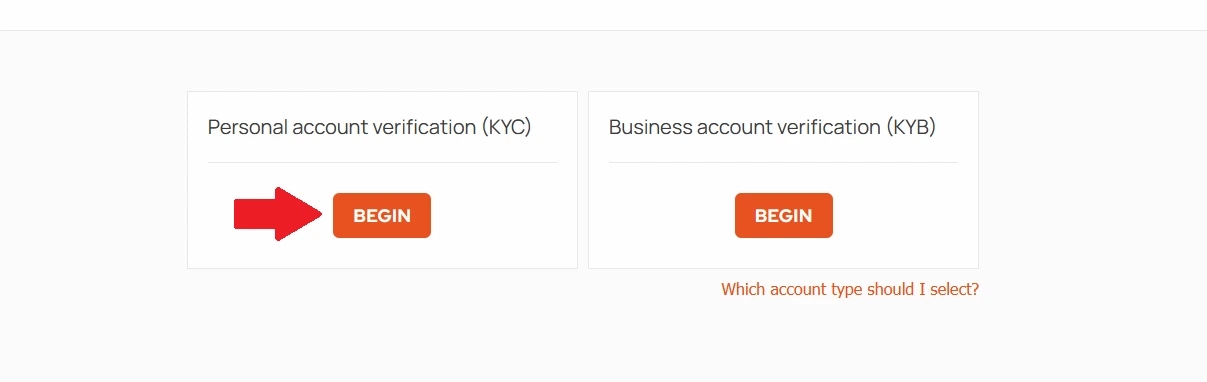
Click to proceed with personal account verification
Select your nationality from the drop-down list and confirm:
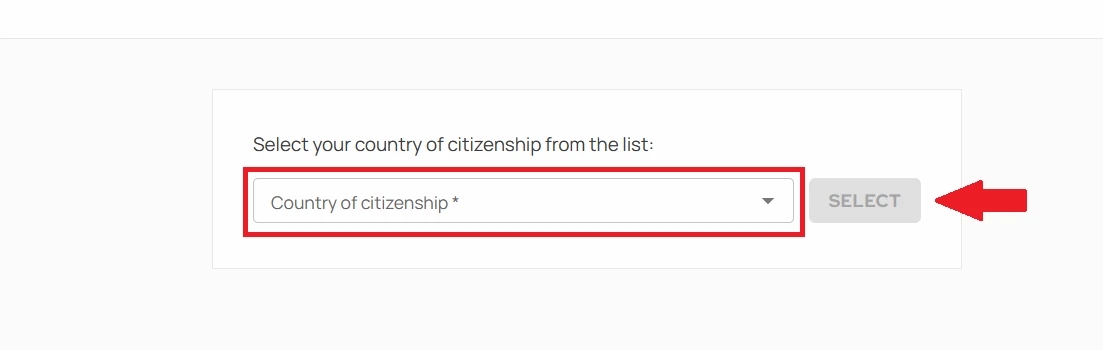
Confirm by clicking ”Select”
You will now be requested to choose the preferred verification method. There are two options:
- Nect verification: digital identity validation through a mobile application. Allows the user to access all Kanga Exchange functionalities. This option is currently available only for Polish and German citizens.
- Kanga Exchane verification: traditional validation enabling users to access all Kanga Exchange functionalities.
In the next section we will present how to go through each of the option.
Verification process using Nect
Let us look into the account verification process using Nect service first.
- Select Nect from the list and click “Next”

Choose first option
- For this kind of verification you will need a smartphone and an identity document; you will be requested to read out a few words for the camera and provide basic personal information. If you agree to these conditions, click “Next”

Confirm that you read the rules for verification through Nect application
- Provide your basic personal details such as name, surname, birth date and PESEL number – these are mandatory; additionally, you can provide your middle name.

After filling in the fields press ”Next”
- Next you will choose between two ways of verification – you either scan the QR code or enter your mobile phone number to receive a link to initialise the verification

Both options will direct you to the very same website; decide which one is more convenient for you.
- On your mobile you will see similar website requesting you to install the Nect app
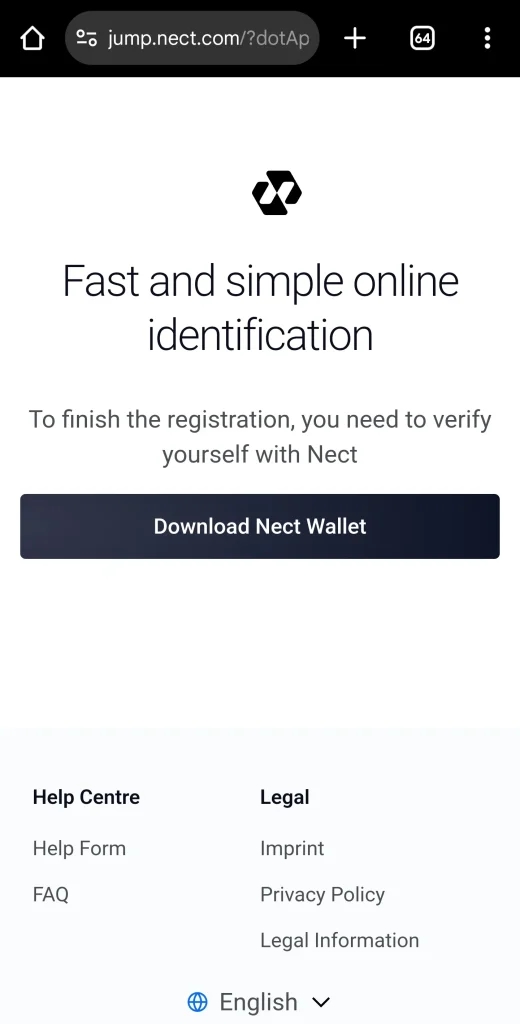
Click ”Download Nect Wallet” to proceed
- You will be redirected to your app store to download Nect Wallet app

Press ”Install”
- Once the installation is complete click ”Open”
Please note! Due to security reasons Nect app does not allow to take screenshots. The complete verification process is described step by step below:
- On the home page, in the upper part of the screen, you should be prompted with a field reading “Information about the case: Kanga Exchange”. Click “Start” to proceed.
- Next page will instruct you what is needed during the verification: scanning the identity document and recording a video to confirm your identity. Click “Continue” to proceed.
- In this step you need to mark that you have read the “Permission to process personal data declaration”, “Privacy Policy” and “Terms of Service”. Confirm by clicking “I understand and accept”.
- After watching a video tutorial detailing how to scan your identity document (together with the text instruction), click “Continue”.
- After scanning the front and back of the document, you will record a “selfie video” where you will be also asked to read out a few words that will appear on the screen.
- Next, Nect will process the data which might take a few minutes.
When the process is finalised successfully, you will see the following notification:
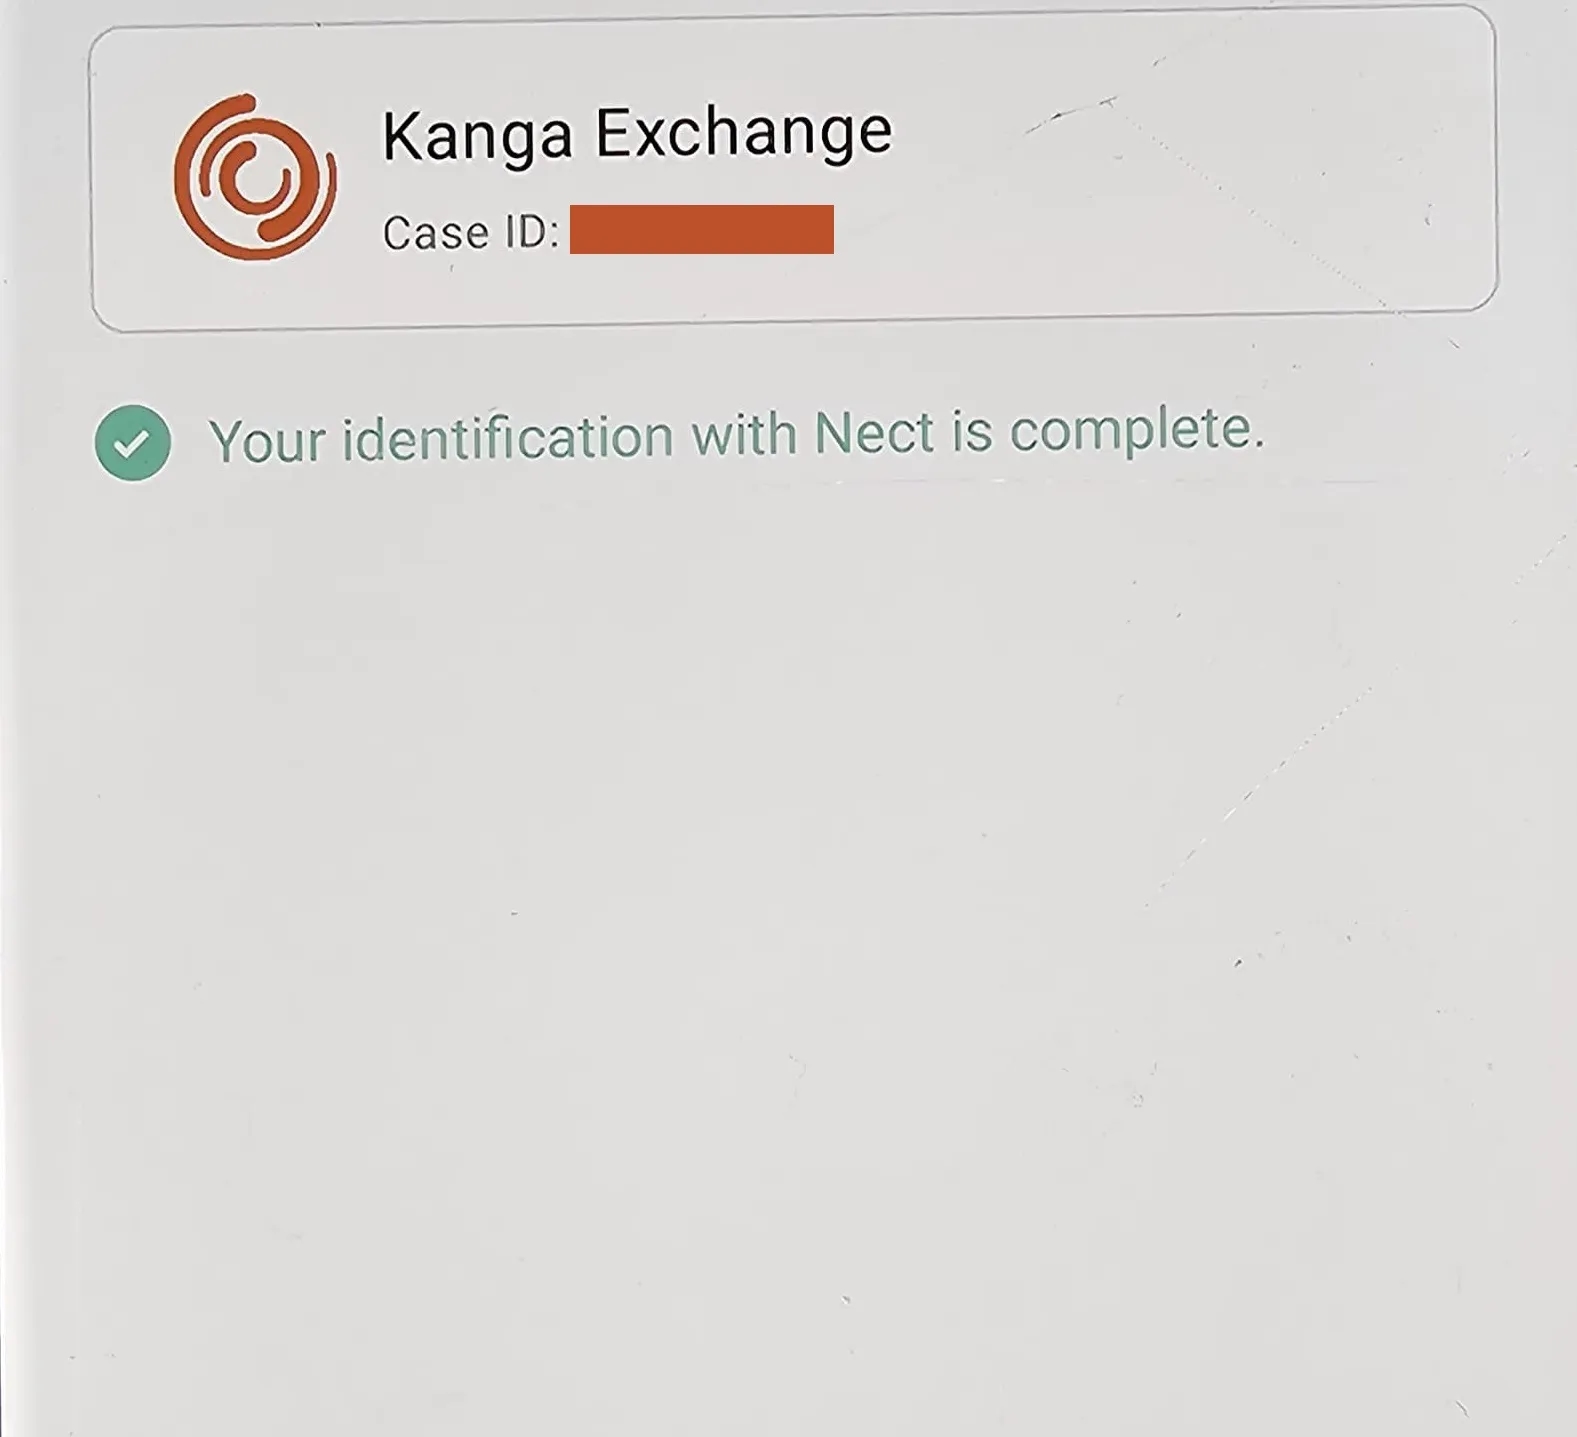
Click ”Back” to return to Kanga Exchange
On top of that, KYC verification needs to be officially confirmed by Kanga. We will send you an e-mail notification about the validation and from then onwards you will be able to enjoy all the functionalities of the platform.
Verification process using Kanga Exchange
Second option is the traditional form of KYC verification.
- Select Kanga Exchange from the available list and click “Next”
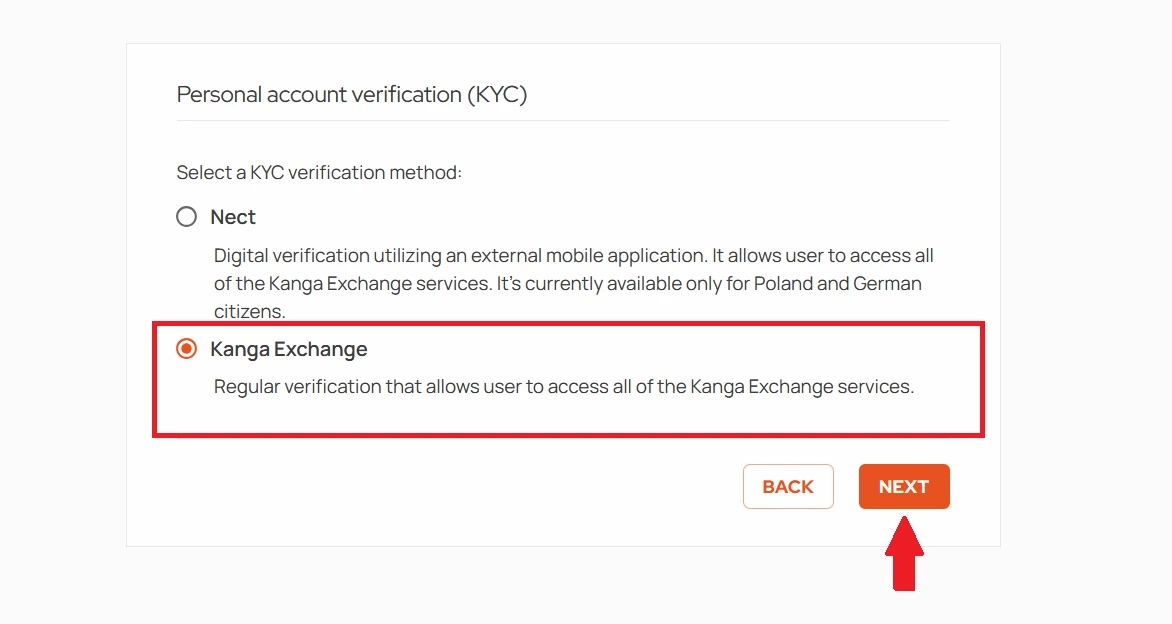
Start the traditional KYC verification process
- Next, select your country of residence (Poland is set by default)
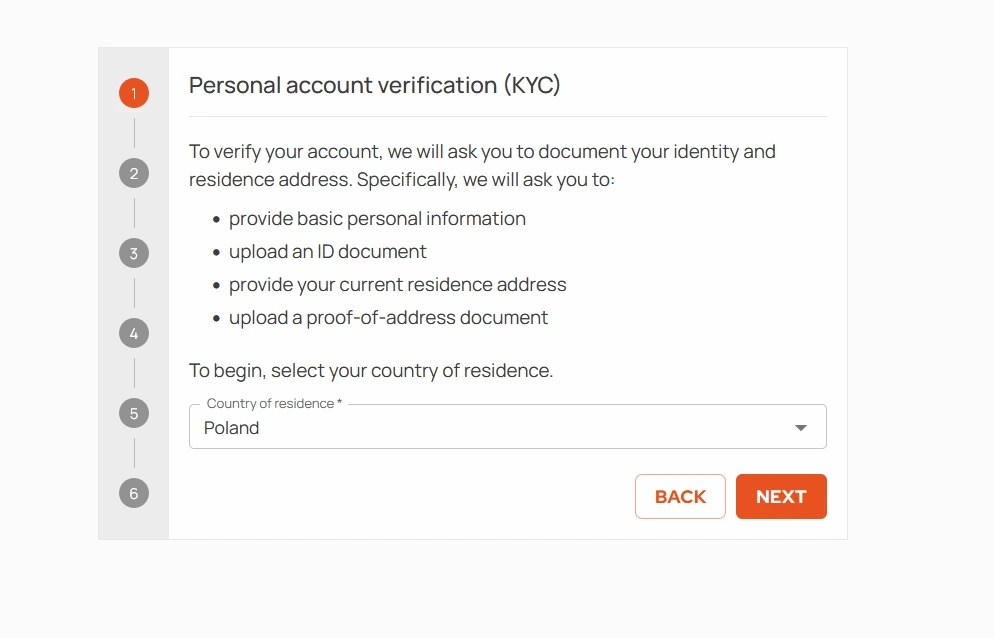
Click “Proceed”
- Provide basic personal data; fill in your name, surname, birth date and PESEL number in relevant fields and click “Next”.

Fill in the form with your personal data
- Confirm you are neither a Politically Exposed Person (PEP), nor their close relative. Additionally, mark the clause that you are aware of the criminal liability in case of false statement.
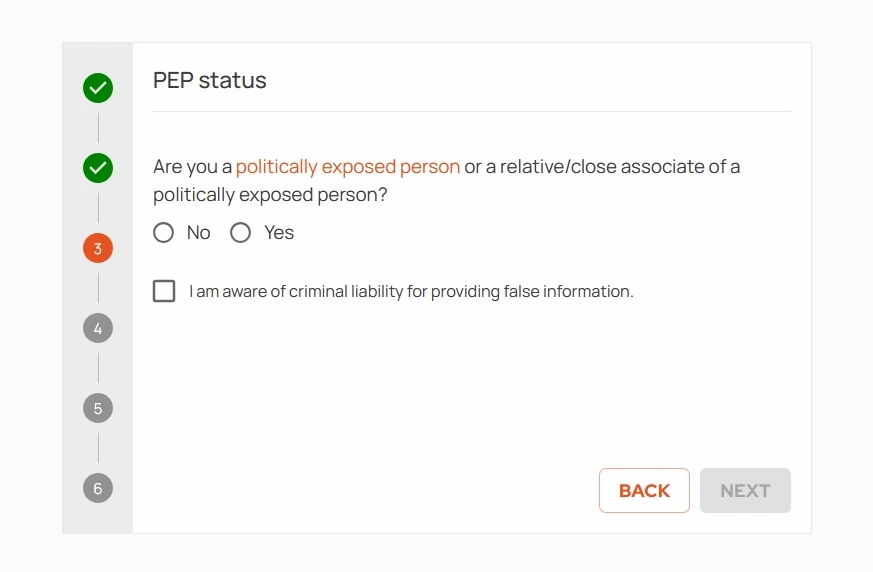
Press “Next” to proceed to the next step
- Select the type of document: you can choose between your identity card or passport.
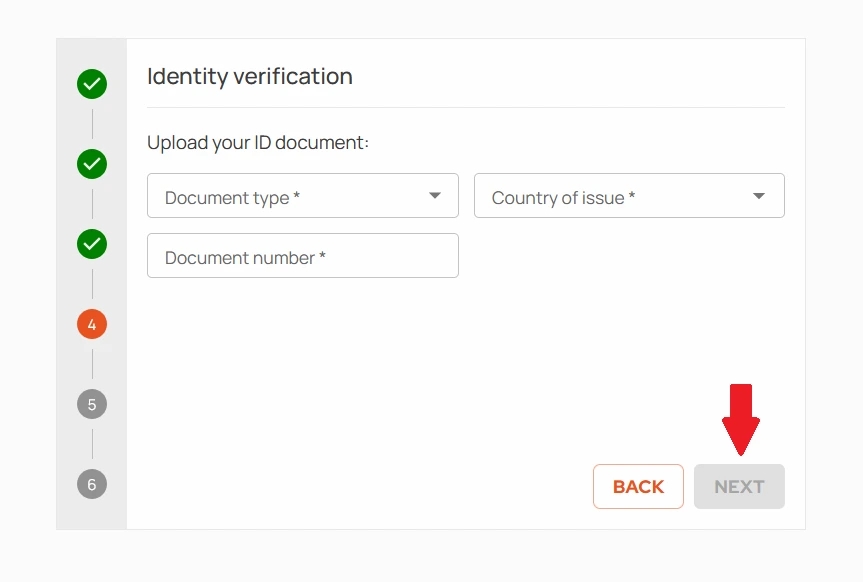
After choosing the type or the document, enter its identification number and select the country of issue
- After completing the information, you will be asked to upload the scans of the front and back of your document. The files should be submitted in JPG, PNG or PDF format and may not exceed 5 MB.
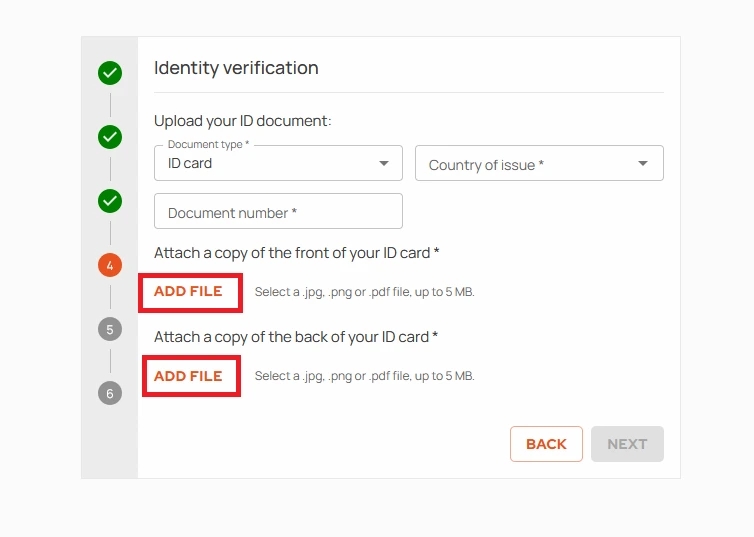
Click “Add file” and upload first the front and then the back of your identity document
- If the files are uploaded correctly, you can proceed to the next step.
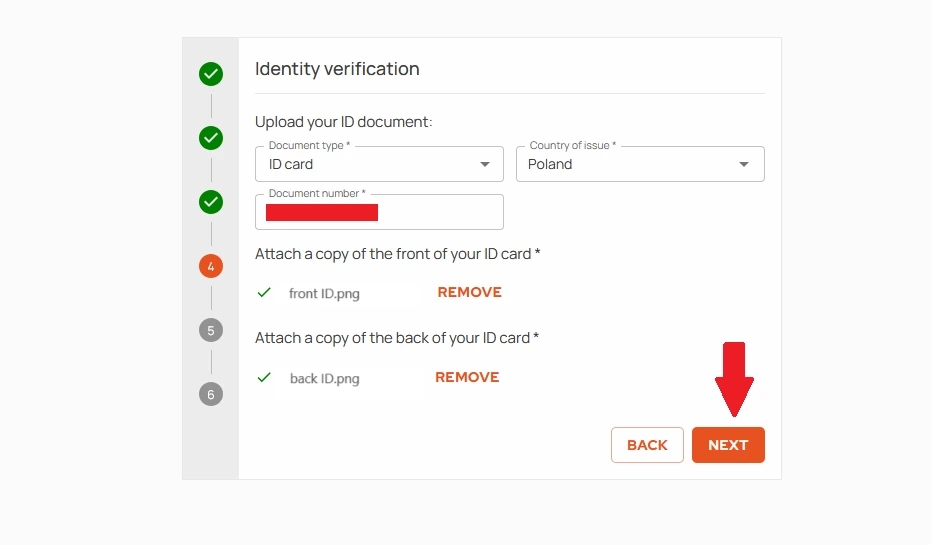
Click “Next” to continue
- In this step, Kanga Exchange will request you to specify your address of residence and phone number. The mandatory data includes street name, building (and apartment) number, city and postal code.
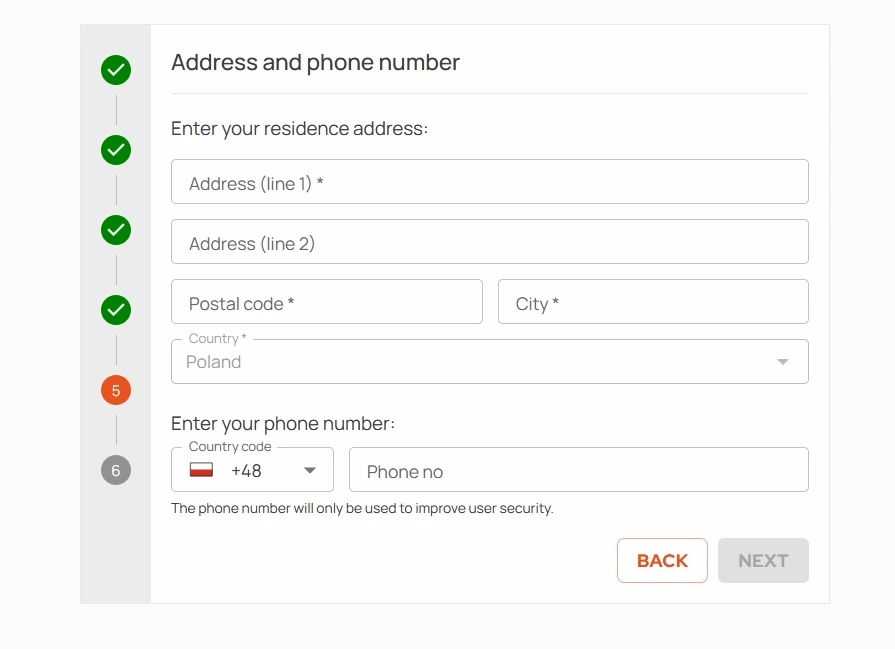
Fill in the form and proceed to the sixth validation phase by clicking “Next”
- In order to validate your address, upload the scan of one of the following documents: utility bill; phone, Internet or TV bill; bank account or credit card statement or a valid certificate of residence. Note that the files should be submitted in JPG, PNG or PDF format and may not exceed 5 MB.
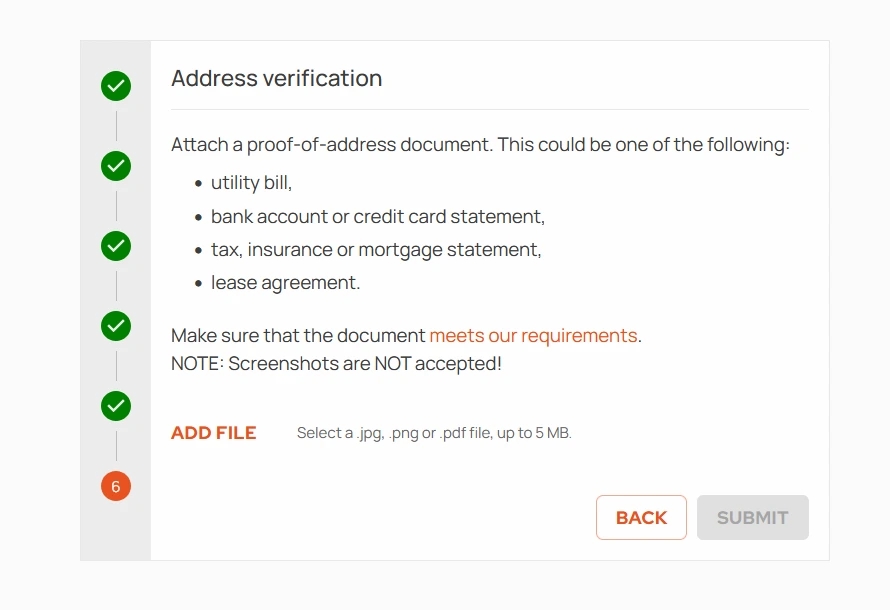
Add an attachment confirming address of your residence
- Finalise the process by pressing “Submit”
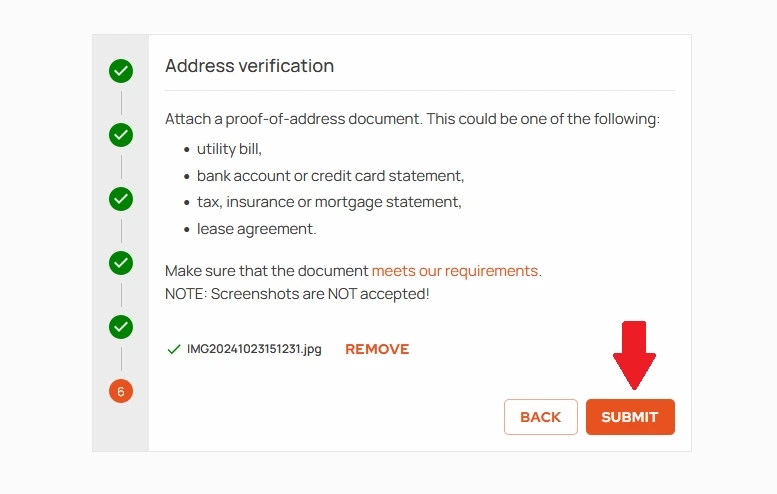
“Submit” will confirm adding the document confirming your address of residence
You will be informed by e-mail of the outcome of the verification. It usually takes 2 working days for the majority of accounts to be verified however, in special cases, the waiting period can be extended.
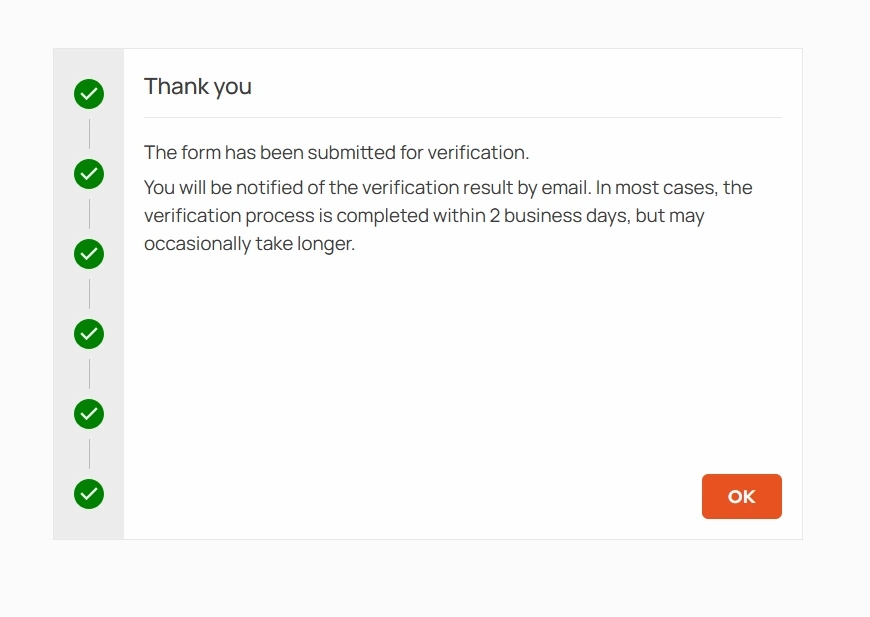
Click “OK” to exit the KYC creator